The Complete 7-Step Process For Asphalt Pavement Installation
Laying an asphalt driveway or parking area is not done with just asphalt. A good asphalt installation requires eight precisely performed steps and a well-built system of layers supporting and reinforcing the final asphalt surface. These steps include preparing and grading the land, building a sub-base that can handle changes in temperature and moisture, testing the structure, and pouring a strong layer of flexible asphalt over the top. Once these steps have been completed, your asphalt will be ready to serve durably for many low-maintenance years.
Let’s explore the eight-step process of asphalt pavement installation in Phoenix, AZ.
Step 1: Demolition and Removal
The first step in most asphalt installation projects is to remove the previous pavement – or what’s left of it. Today, desirable properties are often already paved, partially paved, or have decaying pavement from structures that are already gone. Building a new house, renovating a commercial property, or replacing old, cracked pavement requires demolition and removal as the first step.
Our professional asphalt team will use heavy machinery to break up the old pavement and remove all of the undesirable layers and debris. Removing the old pavement creates a clear space to design and install your new pavement.
Step 2: Grading and Sloping
Next, the paved area is graded and sloped, meaning the ground beneath the paving will be shaped to match the asphalt driveway, lot, or road you want to create. Grading ensures that the ground is flat and level. Sloping pre-plans the drainage angle to ensure that water runs off your asphalt instead of pooling, which can lead to safety and maintenance concerns.
Step 3: Prepare the Sub Base
Creating a stable yet adaptive sub-base is the most important step in asphalt installation. Most of the asphalt cracks result from a sub-base that was insufficiently built or was eroded or damaged over time. Preventing pot holes and alligator cracks relies on expert complete sub-base preparation.
The sub-base prevents the asphalt from moving and cracking when the ground contracts cold or expands with heat or moisture. A strong sub-base will not erode with the rain.
Step 4: Proof Roll, Undercutting, and Sub Base Repair
How do you know if a sub-base is strong enough to last for many years of traffic and weather? We test it. Using heavy rollers, we simulate traffic pressures – called a Proof Roll. Gravel that flexes too much, undercutting is used to repair the sub-base to increase the security of any soft areas until the entire sub-base passes the proof roll.
Step 5: Binder and Surface Course
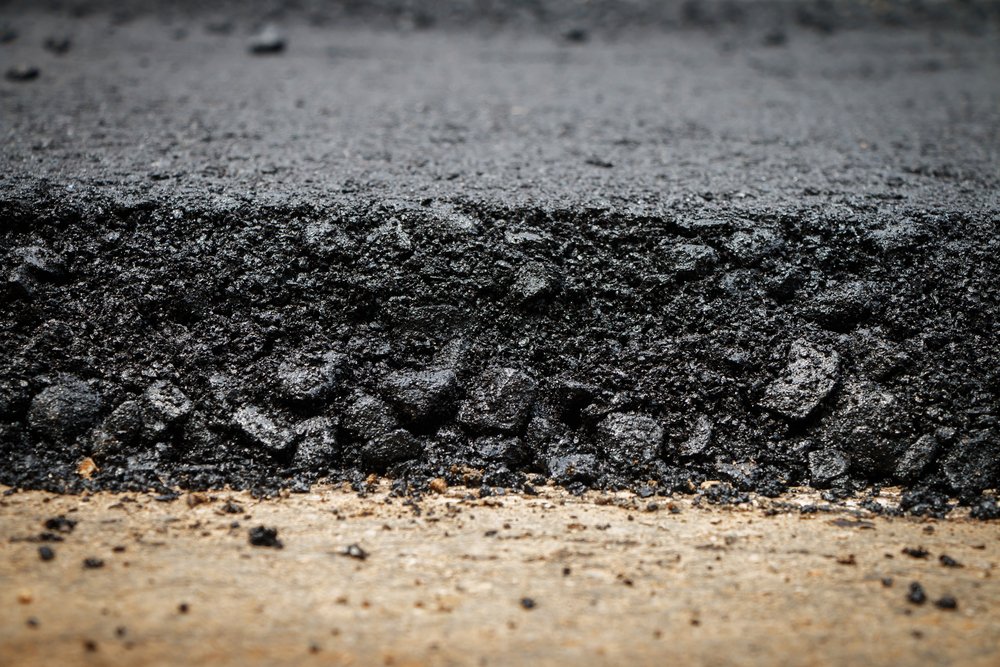
The binder layer is the strongest layer of asphalt created with the coarse, larger aggregate material and oil. The sticky fine aggregate binds to this binder layer, making it a highly durable composite asphalt. This layer is laid evenly over the prepared sub-base and shaped to the final pavement design.
Step 6: Install New Asphalt Surface
The new asphalt surface consists of small aggregate, sand, and oil, creating the dark, flexible, durable material most associated with high-quality asphalt. The asphalt surface is poured over the binder layer, saturating and bonding with the coarse aggregate.
Step 7: Butt Joints and Transitions
The main benefit of asphalt is that it transitions well to other paved and asphalt surfaces. The pour allows for smooth transitions from the new asphalt driveway’s sub-base support to the existing road or parking lot. The seventh step involves setting up butt joints where these transitions occur. These joints make sure there is not a noticeable difference from one pavement surface to the next.
Step 8: Final Roll
The final roll uses heavy roller equipment to smooth over the new asphalt surface and ensure it is as stable and compact as possible and that no bumps of aggregate protrude from the smooth surface.
Seal After Six Months
It will take only a few days for your pavement to be ready to be driven on, but an asphalt installation is not fully weatherproof for the long term until it has been sealed. The final seal occurs with a follow-up appointment six months after your installation and ensures that your pavement remains free of cracks, pits, and traveling for the next several years until your asphalt is to be sealed again.
Professional Asphalt Pavement Installation Services in Phoenix
Performing expert asphalt installation is what One Stop Asphalt does best. You can rely on our dedicated asphalt specialists to perform every step of the eight-step process with attention and precision. Contact us today for a free estimate to discuss your plans for a new asphalt driveway or larger asphalt installation. We are ready to make sure every step is done to perfection.
Image Credit / Shutterstock / Thawornnurak

Sorry, the comment form is closed at this time.